
Follow the steps below to add or edit a Talent Profile:
On the System Admin Console, go to Talent > Talent Profiles > Administer Structures.
The following screen will appear:
To add a new profile structure, click the Add button. A standard profile with preset sections and fields that you can customize will be created.
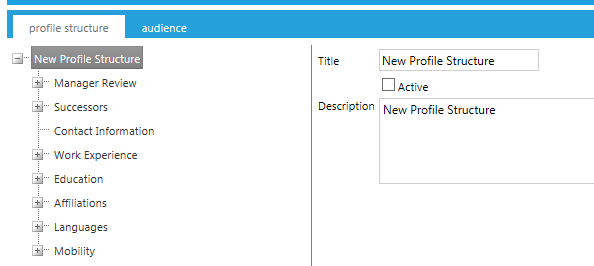
Enter a Title, Description, and click the Active check box if you wish to activate this profile.
* Note that each user should only be in the audience for one active profile.
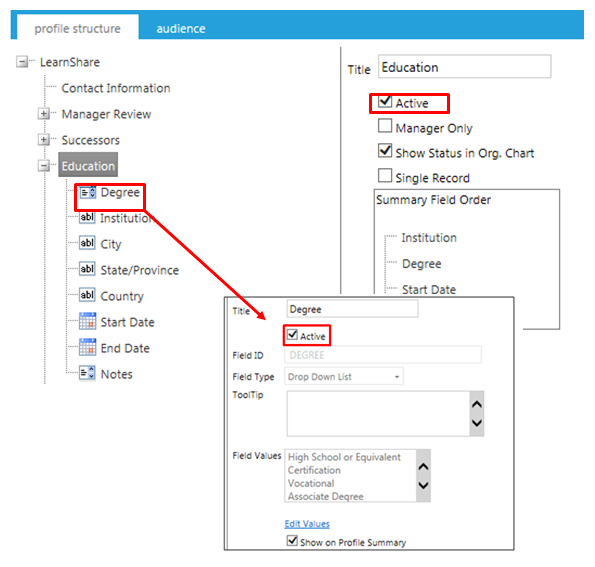
Review and expand the preset selections. To include a pre-set selection, both the top level section header and the specific field must be active. To hide certain sections/ fields, uncheck the Active box.
To add a new custom section, right-click on the top level folder and click Add Custom Section.
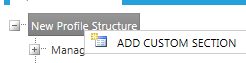
The following screen will appear with your new section at the bottom of the structure.
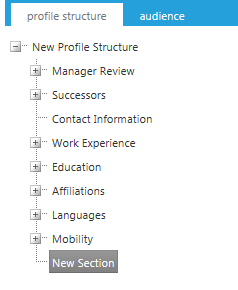
Click on the New Section to open up the fields.
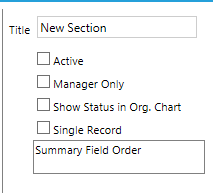
The following selections are available:
| Options | Description |
| Title | This is the Section name that will be visible to end users |
| Active | Check this box to make the section Active |
| Manager Only | Check this box to have this section only be visible to the user’s manager |
| Show Status in Org Chart | Check this box to have this section appear in the Organizational Hierarchy Chart view |
| Single Record | Check this box to only allow one entry per field |
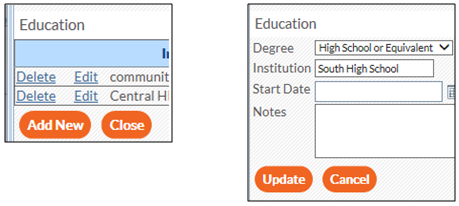
The picture on the left is an example of the Single Record box being unchecked. There are multiple entries for the same text field and new ones can be added.
The picture on the right has been limited to a Single Record. The “Institution” text field can be changed/updated, but an additional entry cannot be made.
New Fields can be added to existing sections or to a new section.
To add a new field, right click on the section.

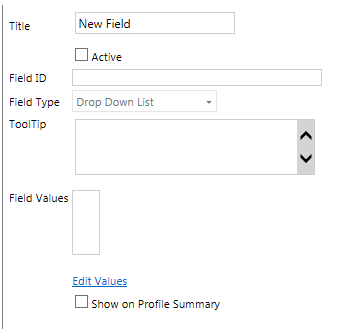
Click on Add Field. The following screen will appear:
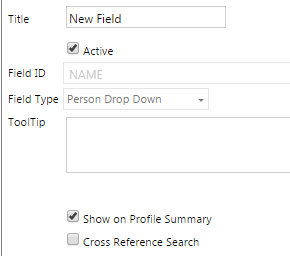
Enter information into the following fields.
| Field Options | Description |
| Title | This is the title for this field that the user will see on the profile |
| Active | Check this box to make this field active/ visible |
| Field ID | You must enter a unique identifier for this field |
| Field Type | Select the appropriate field type. See the next section for detailed information on each field type. |
| Tooltip | Enter a tooltip for this field, if desired |
| Show on Profile Summary | Check this box to allow the field to be shown on the user's profile overview. Unchecked fields will not show on the overview, but will appear when the user clicks to enter data in that section. |
| Cross Reference Search | When this box is checked, users will have the ability to search other users’ profiles for matching values in the selected field. |
The Field Types drop down list will display the following options:
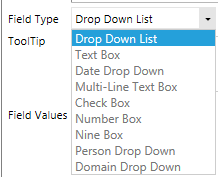
Each field type has its own criteria, which may change the screen slightly when selected so you can input additional data:
 Drop Down List:
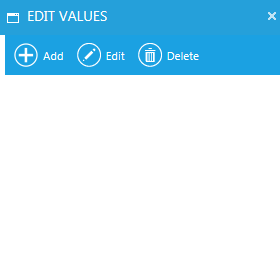
Click Edit Values to add the values you want users to choose from when they click the down arrow on their screen. A pop-up screen will appear:
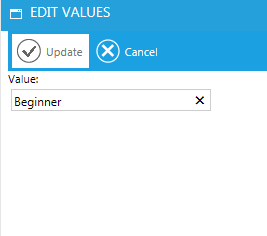
Click Add and enter an alpha and/or numeric value in the text box. Then click Update.
Continue to Add and Update until all values have been entered.
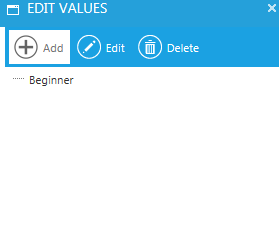
You can drag and drop the values to place them in a different order, if desired.
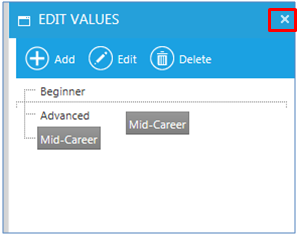
When you have added all of the values, click the X to close the box.
 Text Box (Default): inserts a one-line text box
 Date Drop Down: inserts a date field with a calendar icon
 Multi-Line Text Box: inserts a scrollable, multi-line text box
 Check Box
 Number Box
 Nine Box: Click the Edit Values link and follow the same instructions as those listed under the drop down box
 Person Drop Down: Inserts a field that allows the user to select a person. Person must have an active LMS account to be shown in the drop down list.
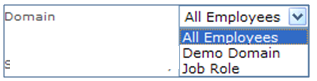
 Domain Drop Down: Click the drop down list to choose a domain.
To add another field, right click on the Section Name again.
Once you have entered fields into a section, the Summary Field Order will appear on the section's edit screen:
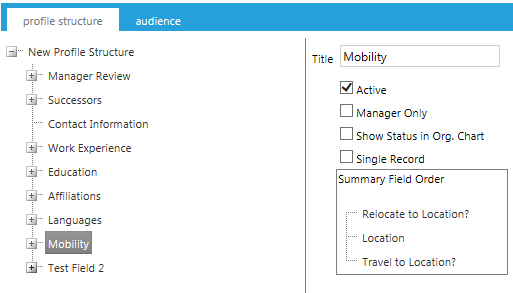
To change the order, you can click and drag any field in the list to a new position.
You can right-click on a field and choose a sort option.
Choose Sort Ascending to sort the list alphabetically. Choose Sort Descending to sort the list in reverse alphabetic order. The type of sort you selected will display:
Remove Sort will delete the sort designation.
Click the Save button.
Click the Audience tab to map this profile to a specific group of people.
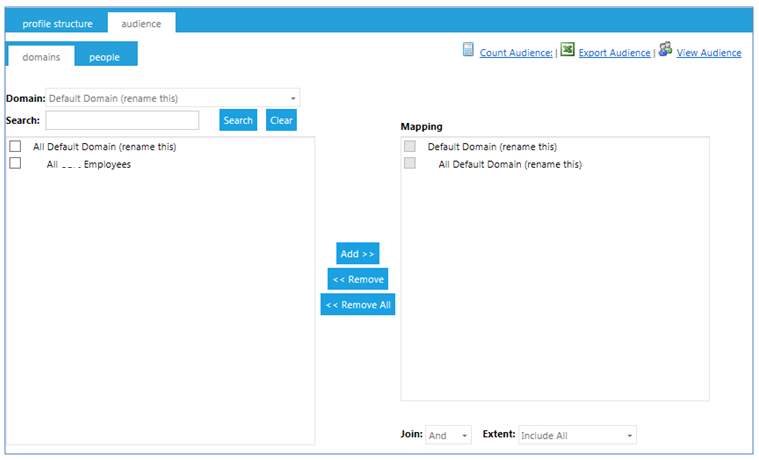
If you choose not to map to an audience, the system will default to all employees in the system.
* Note that each user should only be in the audience for one active profile.
Click the Save button.