Announcements are messages that can contain links, images, and other rich text features. These messages are often displayed on the LMS home page (though they can be used on any portal page) during a time period that you specify. They can also be mapped to target audiences, in much the same way that learning resources are mapped.
A single user can be in the audience for multiple announcements. Depending on the announcement widget selected, multiple announcements will display in a vertical list or will rotate. The announcement with the most recent start date will be displayed first in the list.
The Company Administrator access and the System Admin View menu option are usually required to access this function. Your organization's LMS access and permissions may differ from this standard. Please contact your organization's Company Administrator if you have questions about your access to the LMS. You must have access to all of the target audience you wish to map for an announcement.
Using announcements enables you to:
Go to Tools > Maintain Announcements in the Navigation Bar of the Administrator's Console. A list of existing announcements will open.
To modify an announcement, select it in the list and click the Edit button in the toolbar. To create a new announcement, click the New button.
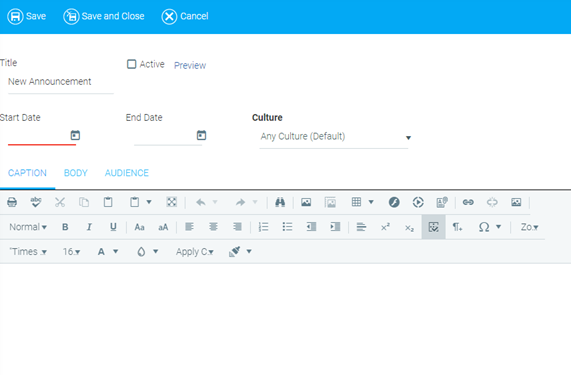
Type a Title in the text box, and select the Active check box if you want the announcement to be active (visible to users) as soon as you save it.
Use the Calendar icons to set Start and End dates for the announcement to be displayed. You can also type the dates into the text boxes manually using MM/DD/YYYY format. The default start and end times are set to midnight Eastern Standard Time.
In the Caption tab, type and format the text for the short text that appears on the home page. For example, "We have just added 10 new software courses. Click to see a complete list."
Go to the Body tab and enter text for the body of the announcement. This text will appear in a pop-up window when the user clicks the caption.
If you would like for the entire announcement to display in the widget, enter all of the text on the Caption tab and leave the Body tab blank. In this case, the pop-up window will not appear, as it contains no content.
Go to the Audience tab to map a target audience of users you wish to be able to view the announcement. See About Audience Mapping for more information on managing audiences.
You can user the Audience Count function in the upper right corner to estimate how many users will see this announcement, if desired.
If the audience mapping is left blank, then the announcement will be visible to everyone.
When you are satisfied, click Save. If you checked the Active check box, the announcement will appear on the specified users' home pages.
The Maintain Announcements screen allows administrators to enter and display announcements customized for different cultures (languages). The default culture is English.
To add another language, click the Culture drop-down menu.
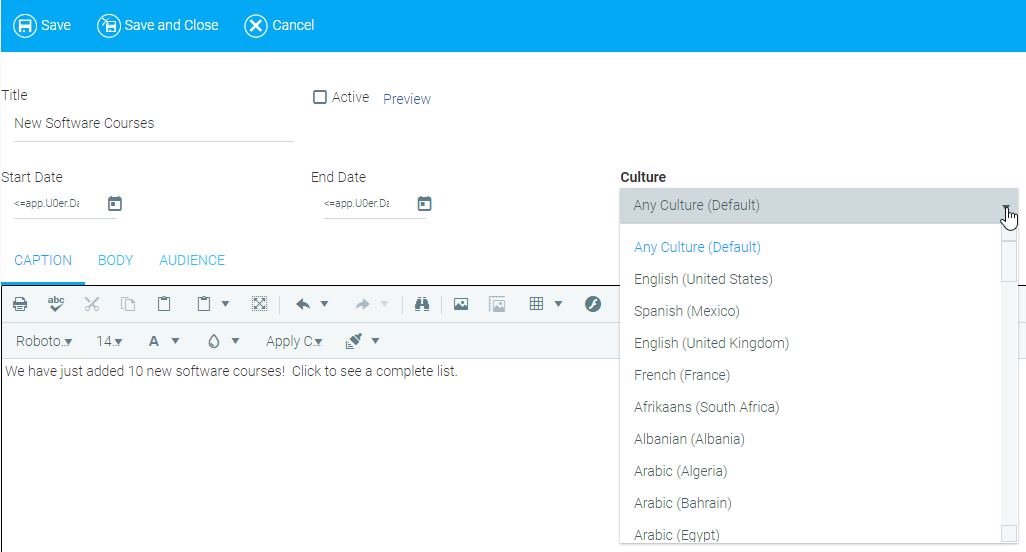
Select a Culture and type the new culture's translation in the Caption tab.
By default, all users who have this culture set will see this announcement. If desired, the audience tab can be used to further refine the audience.
Repeat on the Body tab, if necessary.
To delete an announcement, open the Maintain Announcements screen, click on an existing announcement, and click the Delete button in the toolbar.