
The list of Venues, and Rooms within each venue, that is available when using the Administer Facilitated Sessions screen can be maintained by a Company Administrator. The Venue and Room information for a class session can be used by the learning management system (LMS) to:
Note that the use of Rooms with Venues is optional. You may specify a Venue without specifying a room.
Within the LMS, a Venue is typically a location or a facility, and refers to a specific address (usually a corporate site or off-site location). Additional Venue information can be stored in the system, such as building access, driving directions, and nearby hotels.
A Venue can have one or more Rooms. All the Rooms within a Venue share a street address, audience, driving directions, etc. Each Room, however, has its own name, location, and capacity, and perhaps other values, depending on the custom configuration of your LMS.
The following are examples of Venues:
The following are examples of Rooms to be found within a Venue:
A Venue does not have to have any Rooms. A Venue can be selected at the class session level without selecting a Room, even if the Venue does have Rooms specified.
The Venue and Room selected for a class session is displayed to participants when enrolling and on their Development Plans, and is also available in Reporting. It can also be used to confirm that the selected Room can accommodate the Maximum Participants for the session. Other functions for Venues may be available, depending on the custom configuration of your LMS.
Venues and Rooms can be created or modified by a System Administrator. (Your organization's LMS access and permissions may differ from this standard. Please contact your organization's system administrator if you have questions about your access to the LMS.)
To manage Venues, go to Tools > Maintain Venues in the administrative console.
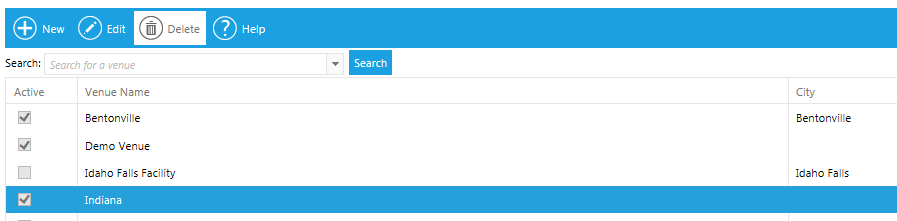
The screen will display the list of Venues currently available in the LMS, along with their City, State, and Contact person.
Click the New button to add a new Venue. To edit an existing Venue, select it in the list and click the Edit button in the toolbar.
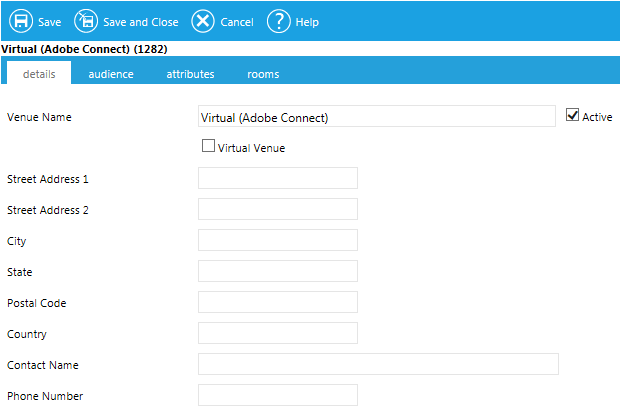
Enter text for the Venue Name. The maximum size for this field is 255 characters, although for practical purposes you may wish to use fewer than 15 characters. This Venue Name is used in the drop-down box for Venue on the Maintain Facilitated Sessions screen and anywhere a class session's Venue is presented to users (notifications, Development Plan, Class Calendar, etc.)
If desired, a venue can be tied to a Virtual Classroom Provider. To do this, check the Virtual Venue checkbox. The screen will refresh to show a list of all of the Virtual providers currently set up in your system.

Select the desired provider. Now every time that this venue is selected, the system will automatically use the selected virtual provider.
Enter text for the following optional information about the Venue:
If you wish to make the venue visible to users by domain, go to the Audience tab.
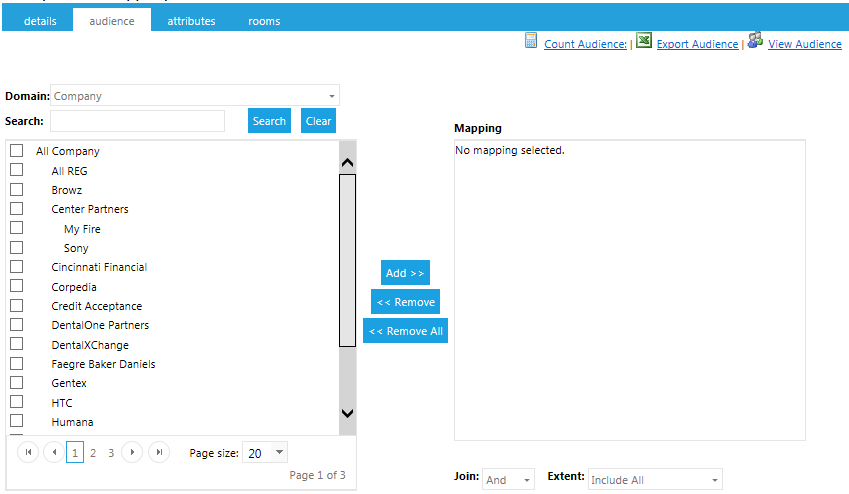
Search for or select from the list of domains to set an audience for this Venue using target audience mapping.
Class sessions offered at this Venue (and all the Rooms within it) will be visible only to members of the selected audience domains. If an audience is not mapped, the Venue will be visible to all LMS users.
The audience tab is not available in all systems.
To set additional information regarding the venue, go to the Attributes tab.
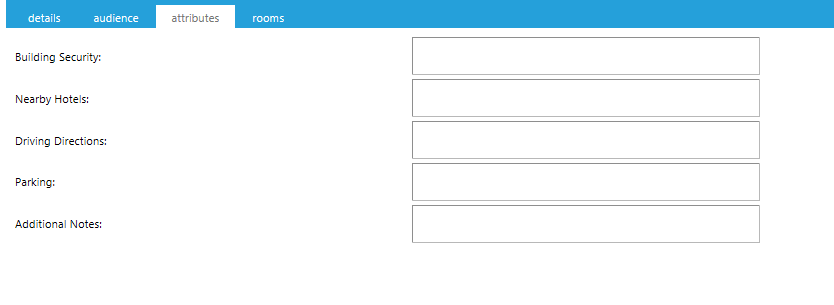
Here you can enter the following information about the Venue:
The Attributes defined for this Venue will be available in automated notifications sent to Participants, Instructors, Training Coordinators, and Facility Coordinators.
If you wish to enter Rooms for this Venue, go to the Rooms tab.
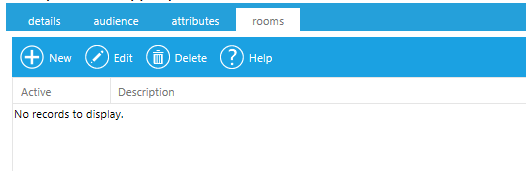
The list of any Rooms already defined for this Venue will be displayed, along with the Location and Maximum Capacity of each.
To edit an existing Room, select it from the list and click the Edit button in the toolbar. To add a new Room, click the New button.
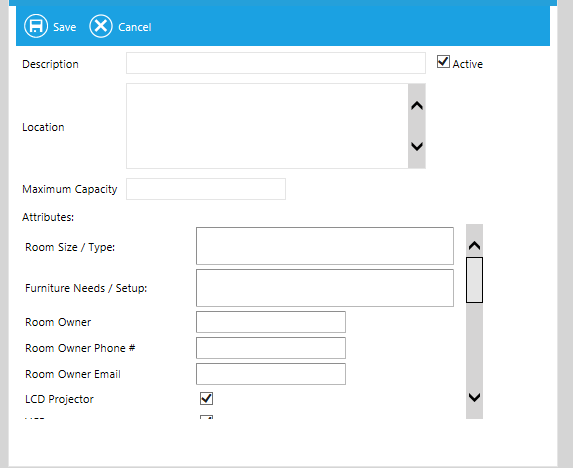
The core fields of this screen are:
Enter text for any other Room Attributes fields that are available. The fields available to you here are dependent upon your LMS's custom configuration. These Attributes will be available for automated notifications sent to Participants, Instructors, Training Coordinators, and Facility Coordinators.
Click the Save button in the Rooms pop-up box to record your changes and return to the Rooms list. Click Cancel to discard your changes.
Repeat as often as needed to describe all the Rooms in this Venue.
Click the Save button at the top of the Maintain Venues interface to record your changes and return to the Venues list. Click Cancel to discard your changes.
A Venue may be deleted from the LMS, even if active class sessions are using it. In that case, the class sessions will not have a Venue defined, and the Venue will not be available for reporting purposes.
To access the list of Venues currently available in the LMS go to Tools > Maintain Venues in the administrative console.
Click once on an existing Venue to select it and click the Delete button.
The Venue and all its rooms will be removed from the list and are no longer available for selection when creating or modifying class sessions from the Maintain Facilitated Sessions screen.
An individual Room may be deleted from a Venue without deleting the entire Venue, with the same impacts as those specified above for deleting a Venue.
Again, go to Tools > Maintain Venues link to access the list of Venues currently available in the LMS. Select a Venue and click the Edit button.
Go to the Rooms tab. Click once on an existing Room to select and highlight it. Click the Delete button in the toolbar.

The Room is removed from the list and is no longer available for selection when creating or modifying class sessions from the Maintain Facilitated Sessions screen. The rest of the Rooms for this Venue are not affected.