Setting Up an eLearning Course

The following instructions are for uploading and setting up an eLearning course, which could include SCORM, AICC, or xAPI courses.

  1. From the Administrator's Home, open the Navigation Bar on the left of the screen.  Click Wizards, then select Course Import Wizard.


  2. The Course Import Wizard will appear.  Click Load a new course or courses


  3. Click the radio button beside the type of course upload you wish to do.  For this example, SCORM has been selected.  Click Next.

  4. Click the Upload button (up arrow) in the center of the wizard to upload the course file.  The wizard will list the file types that are acceptable for this upload.

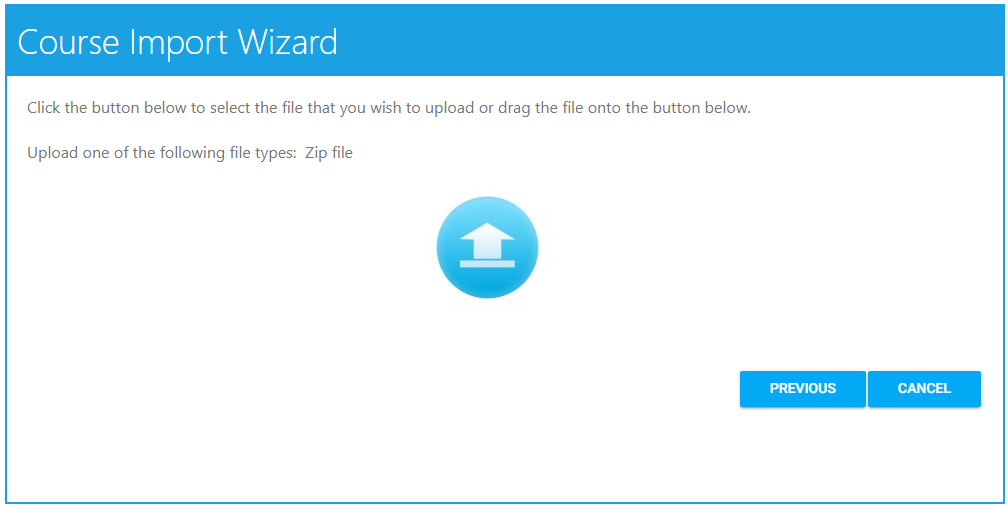
  5. After selecting the file to upload, a pop-up box will appear indicating the progress of the upload.  Once completed, you can click Next to move on to the next screen.

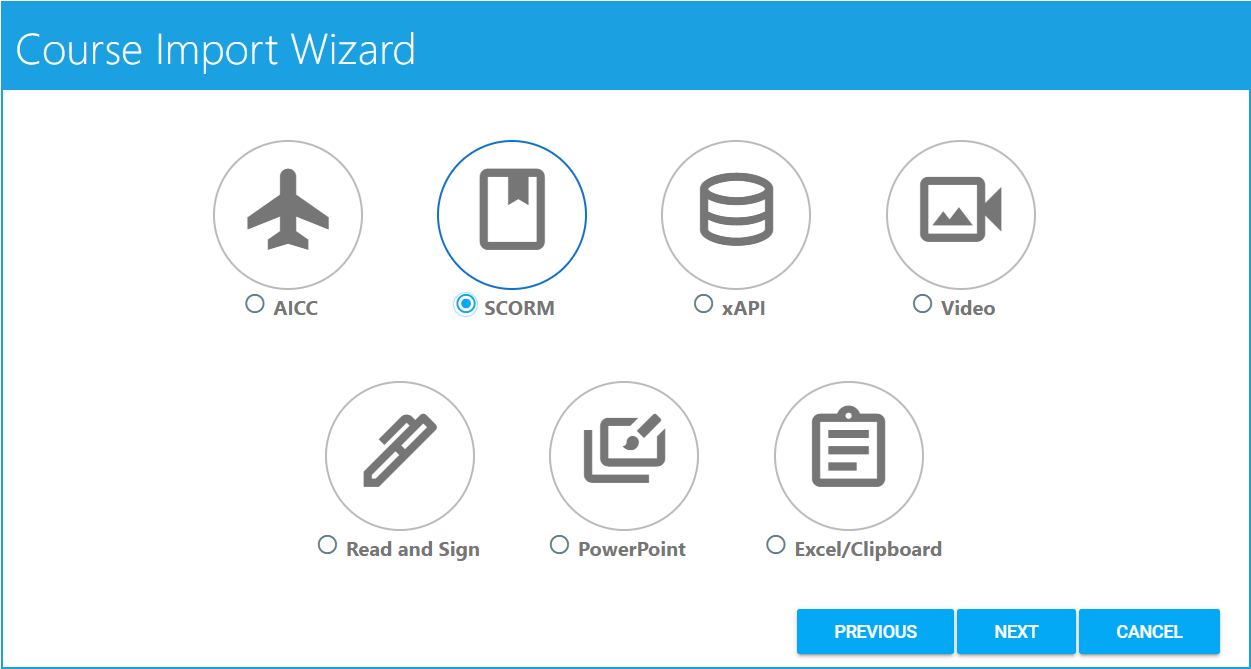
    Based on the file type you uploaded, the wizard will provide a series of questions pertaining to the course.


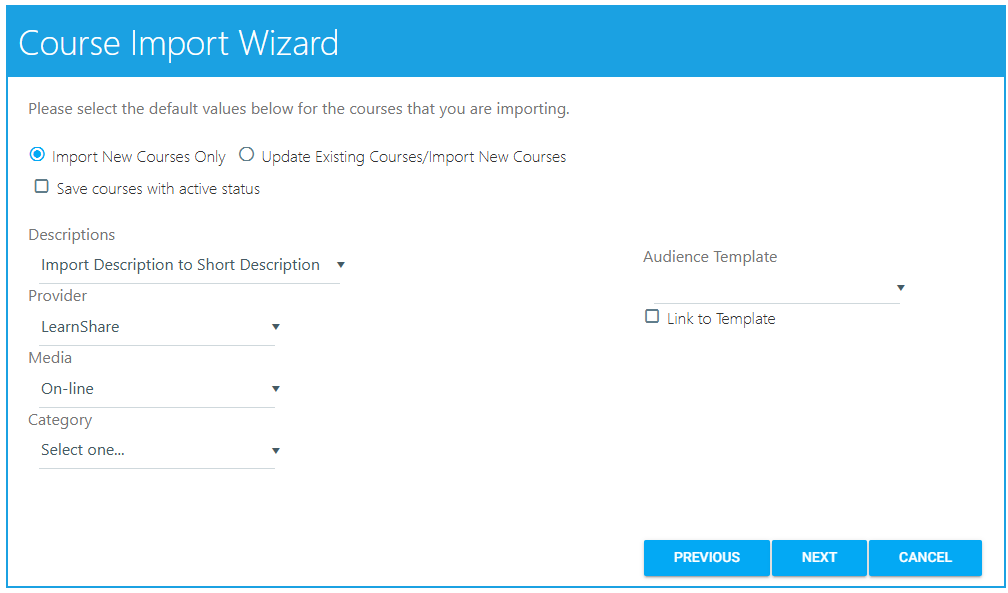
    Select the Import New Courses Only radio button if you are only uploading new courses.  Select the Update Existing Courses/Import New Courses radio button if you are both updating an existing course(s) and importing a new course(s) or if you want to update an existing course(s).

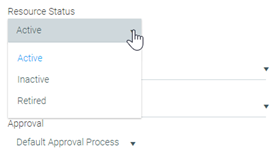
    Check the Save courses with active status checkbox if you wish for the courses to automatically be in Active status.

    Descriptions - Use the drop-down to select an option.  The options include Import Description to Short Description, Import Description to Long Description, and Import Description to Long and Short Descriptions.

     
    Note

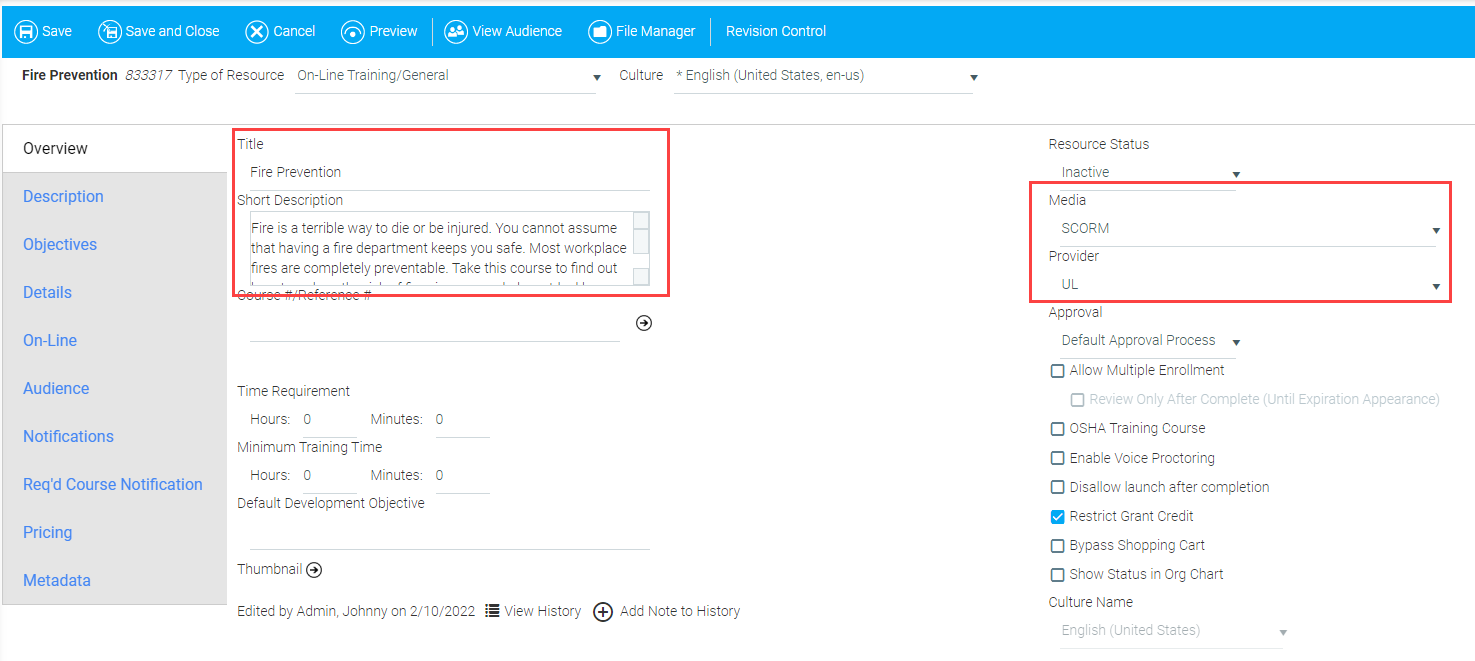
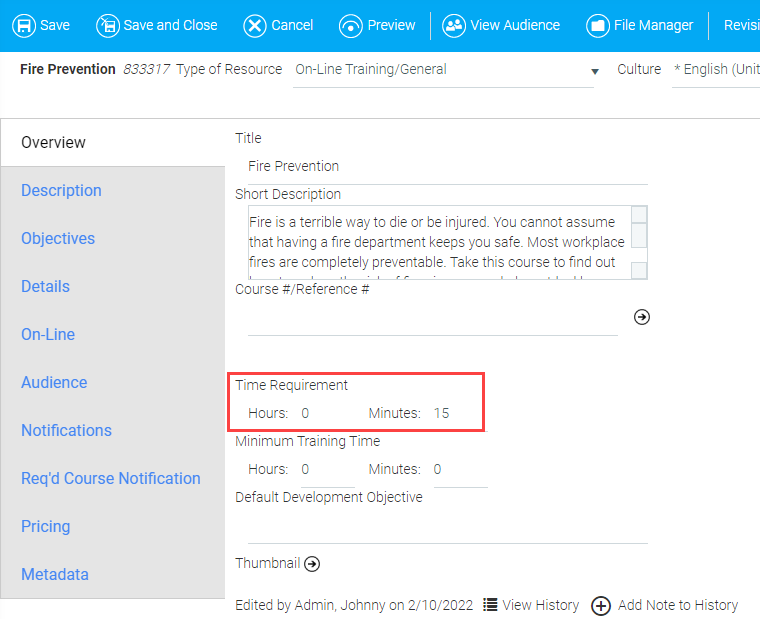
    The Short Description field can contain up to 400 characters.
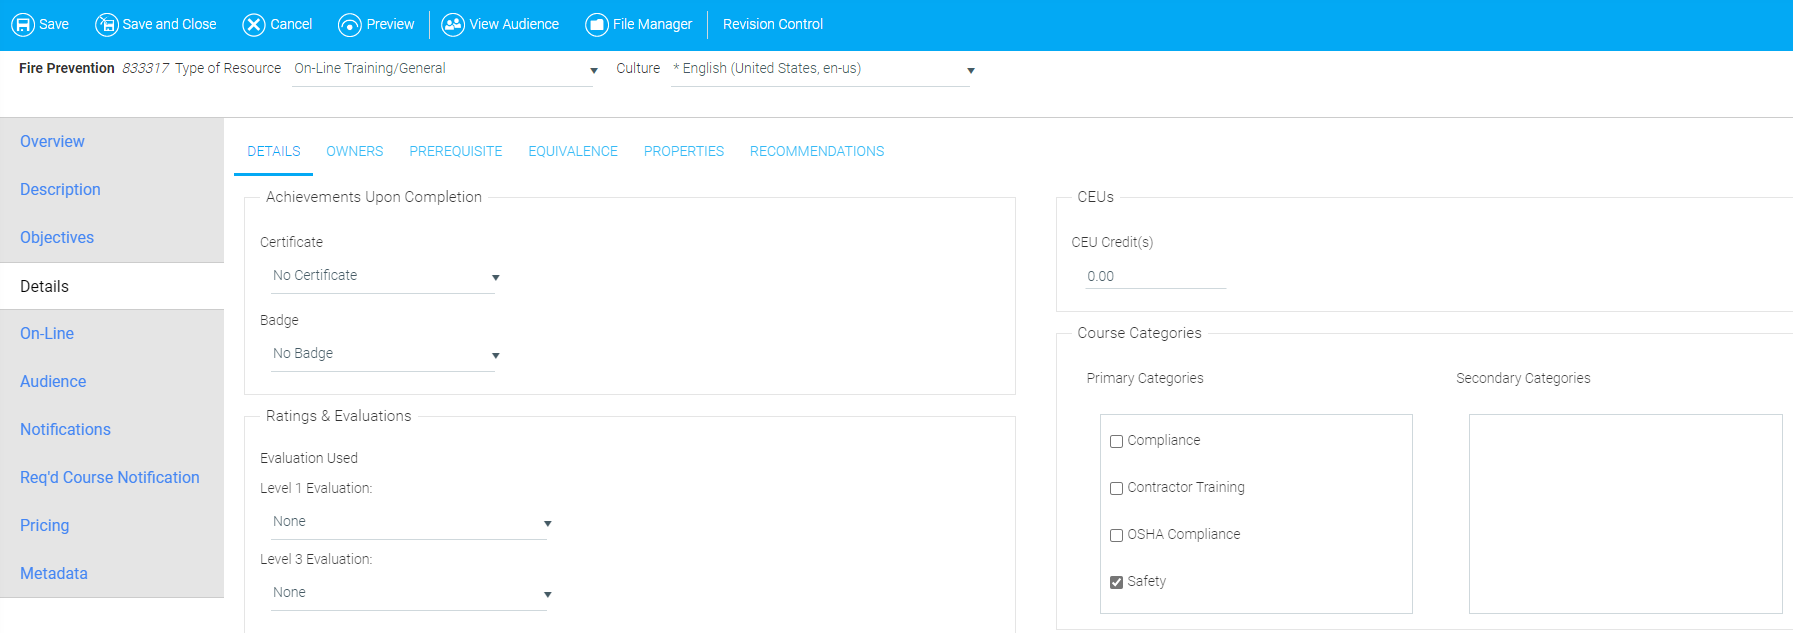
    Select a ProviderMedia type, and Category (all optional) from the drop-down menus. These can also be set through the Maintain Learning Resources screen once the upload is complete.  If you are going to wait to add some settings, you should not import the course as Active.

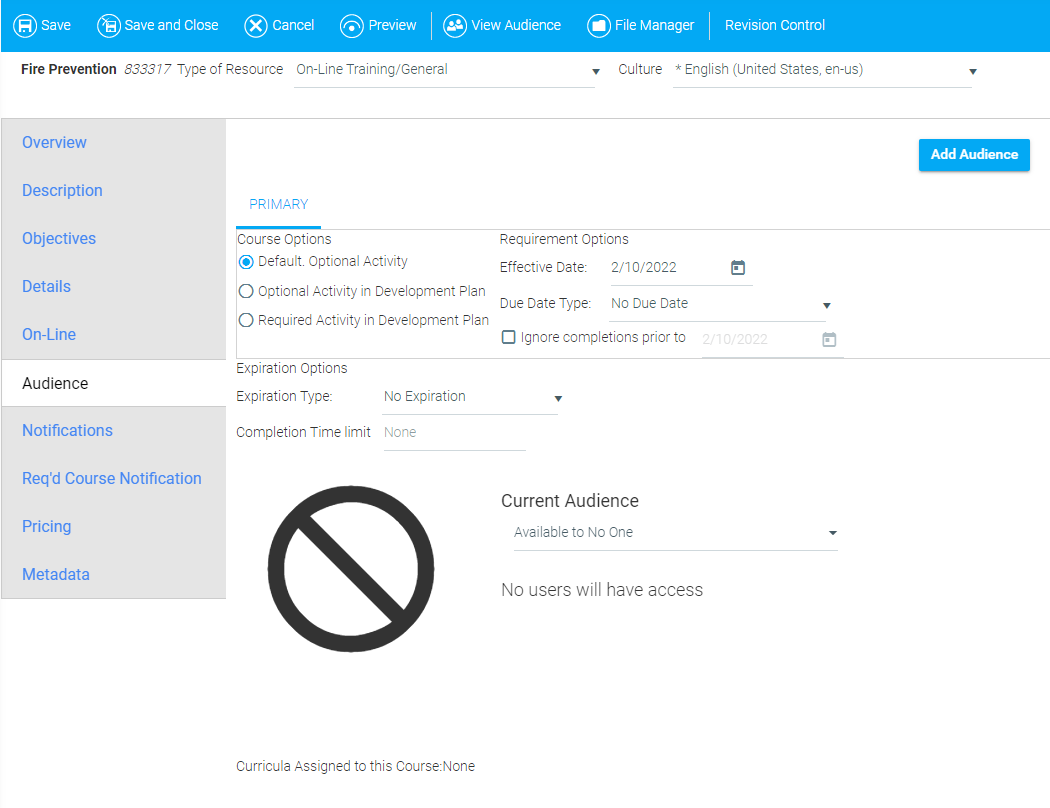
    If you would like to set the Primary audience for this course using an Audience Template, select the desired audience template from the Audience Template drop-down.

    Check the Link to Template checkbox to ensure that any time the audience template changes, the course audience will also change.  If you do not link, the audience for the course will match the audience template in its current state.  If the audience template changes later, the course audience will not receive the same change(s).

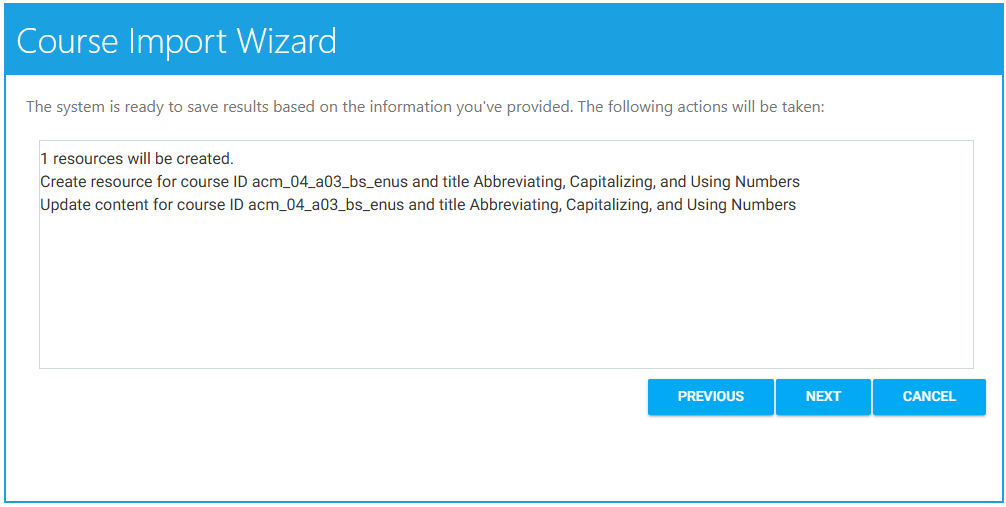
    Once completed, click the Next button.  This will initiate the course import.

  6. You will see a list of processes that are set to occur.  Click the Next button to continue.


  7. You will see a list of completed processes.  Click Finish or Edit Course Details to be taken to the Maintain Learning Resources screen of the new learning resource.


  8. The Overview tab of the resource will appear.  The following fields should already be populated from your upload using the Course Import Wizard.


  9. Populate the Time Required field.  The duration of time required to complete the course should be entered here.

  10. Use the Resource Status drop-down to indicate the status of the course (e.g., Active, Inactive, or Retired).  Users will only be able to access the course if the Resource Status is set to Active.


  11. Optional:  Check the Allow Multiple Enrollment box to allow users to enroll in the course more than once.  For best practice, it is only recommended to check this box if users will be required to retake the course on a regular basis.
     
  12. Optional:  Under the Description tab, enter the Long Description of the course.  You may copy the text from the Short Description field on the Overview tab if necessary.


  13. Optional:  Under the Objectives tab, enter the Learning Objective(s) for the course if applicable.
     
  14. Click the Details tab.  Assign a Primary Category or Categories to the course.  You can also use this tab to designate Achievements Upon Completion, Ratings and Evaluations, as well as CEU Credit(s).


  15. Use the Owners sub-tab to populate the Course Owner field under the Person column.  You must also populate the Instructional Designer and/or Content Owner fields under the Person column.  Both fields are not required, but one must be present.


  16. Optional:  Enter prerequisites for the assessment under the Prerequisite tab, if applicable.
     
  17. Click the Audience tab.  To set up the course's audience, follow the instructions provided in About Audience Mapping and the topics that follow.  Best practice is to leave the selections under the Primary tab unmodified.

     
  18. Click the Notifications tab.  Check the Enable box to enable notifications.  Then, enter the course title in the subject field.
     
    Note

    Some organizations have notifications for required resources enabled by default.  If this describes your organization, please disregard this step.


  19. If the course is going to be required, follow the instructions in this Step.  If the course is NOT going to be required, skip to Step 20.
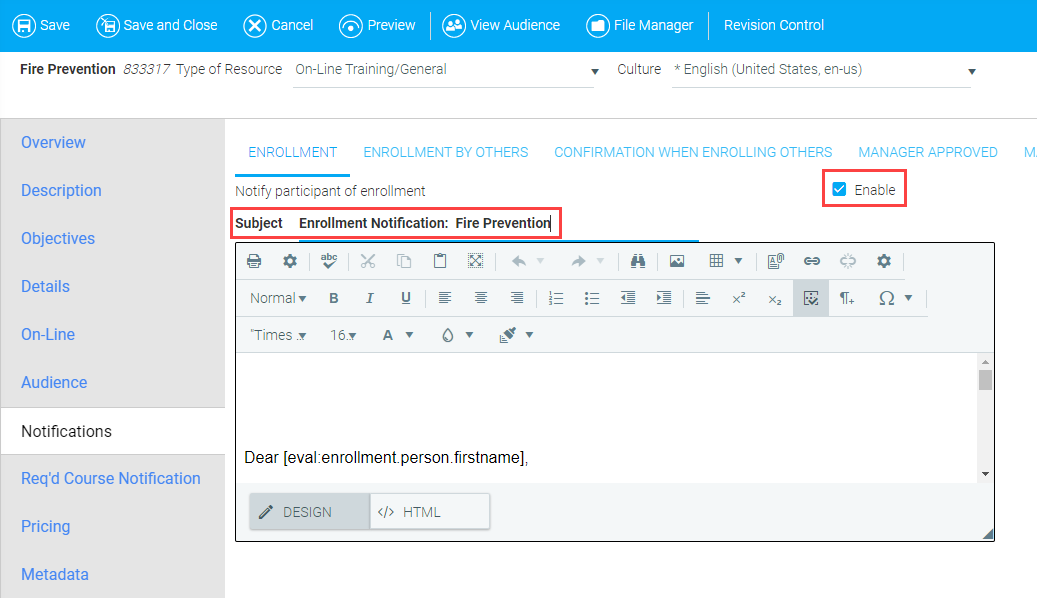
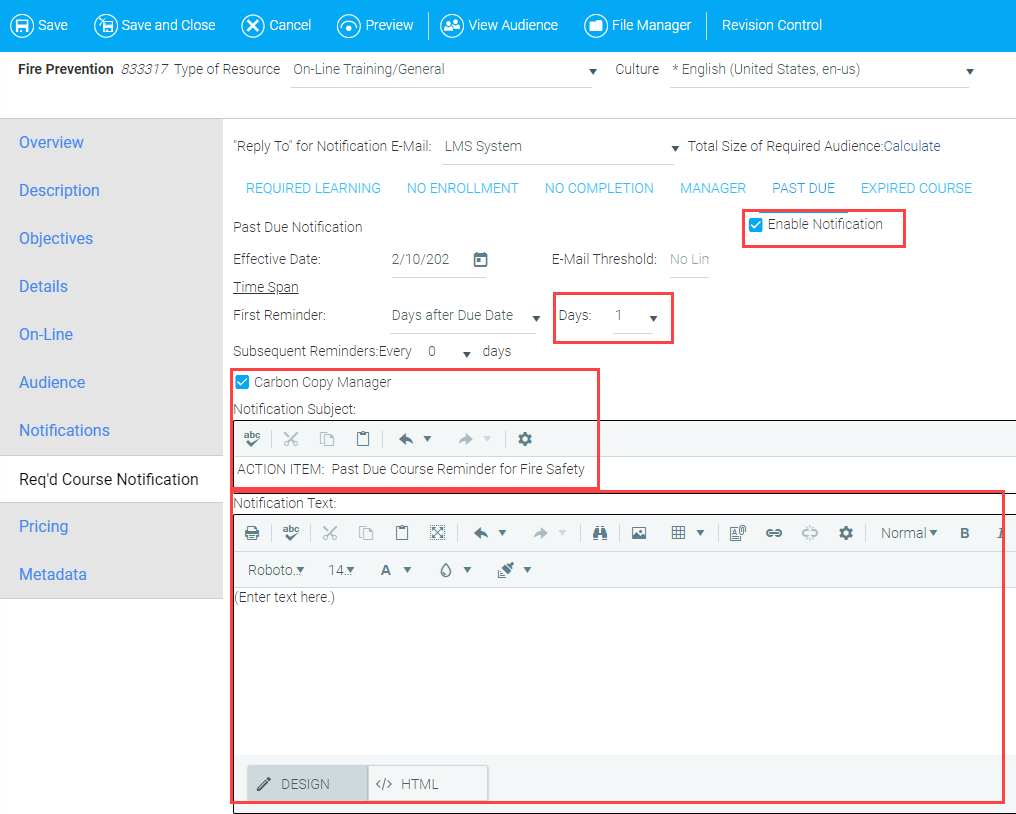
    a.  Click the Req'd Course Notification tab.  Check the Enable Notification box.
    b.  Enter the subject in the Notification Subject field (e.g., "ACTION ITEM: ").
    c.  Enter the message that will be sent to the audience in the Notification Text field.


    d.  Optional:  If desired, click the Past Due sub-tab and check the Enable Notification box to send a notification to the audience when the course is past due.  Select the number of days after the due date when a user will receive a Past Due Notification from the Days drop-down menu.  Use the Subsequent Reminders field drop-down menu to select the number of days that must pass before a user will receive an additional notification.  Check the Carbon Copy Manager box if you wish to copy the user's manager on these notifications.  Lastly, populate the Notification Subject and Notification Text fields.

  20. Under the Metadata tab, click the Time Description sub-tab.  In the field provided, enter approximately how long it will take a user to complete the course in quarter-hour increments (e.g., 15 minutes = 0.25 hours).


  21. Click the Save button in the top Tool Bar to save your selections. 
     
  22. Return to the Overview tab and confirm that the course is set to Active.  Then, add the course to the Course Catalog.  See Adding a Course to the Course Catalog for instructions.

For a brief video on this topic, please see Setting Up an eLearning Course.

Related Links

Create or Edit a Learning Resource

Create a Document Resource

The Overview Tab

The Description Tab

The Details Tab

The On-Line Tab

The Audience Tab

The Pricing Tab

The Metadata Tab

Importing Courses