Adding Courses to a Certificate
- After creating a Certificate from the Maintain Learning Resources screen, click Manage Certificate in the top Tool Bar.

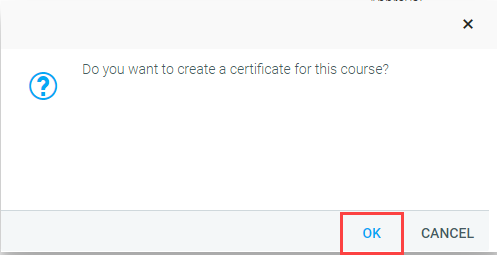
- A pop-out box will appear confirming that you want to create a certificate for this course. Click OK.
- The Administer Curricula window will appear. Click the New Level folder. In the Description field that appears, enter a shortened version of the certificate's name.
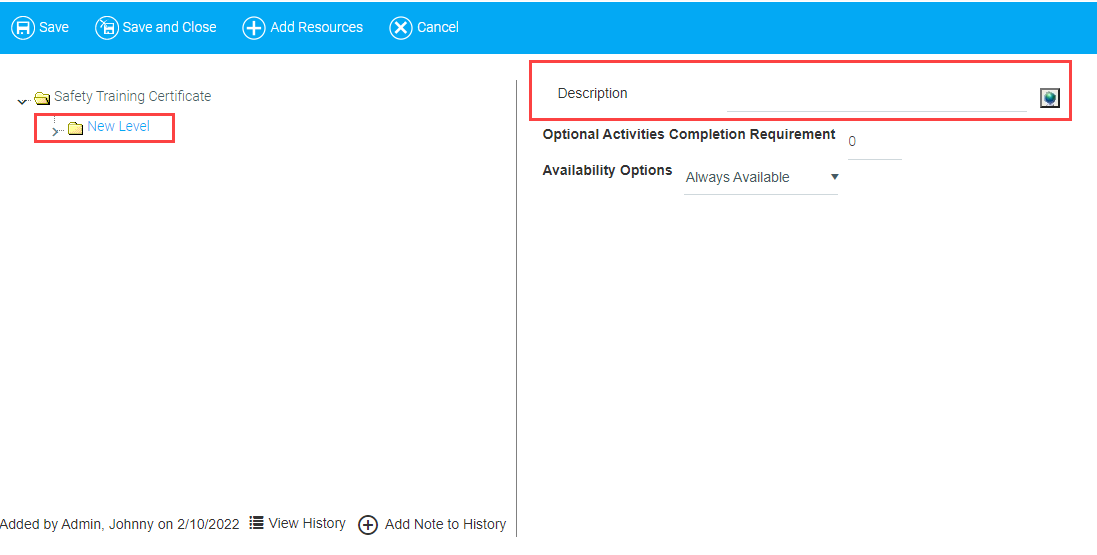
- Click the Add Resources button at the top of the window.

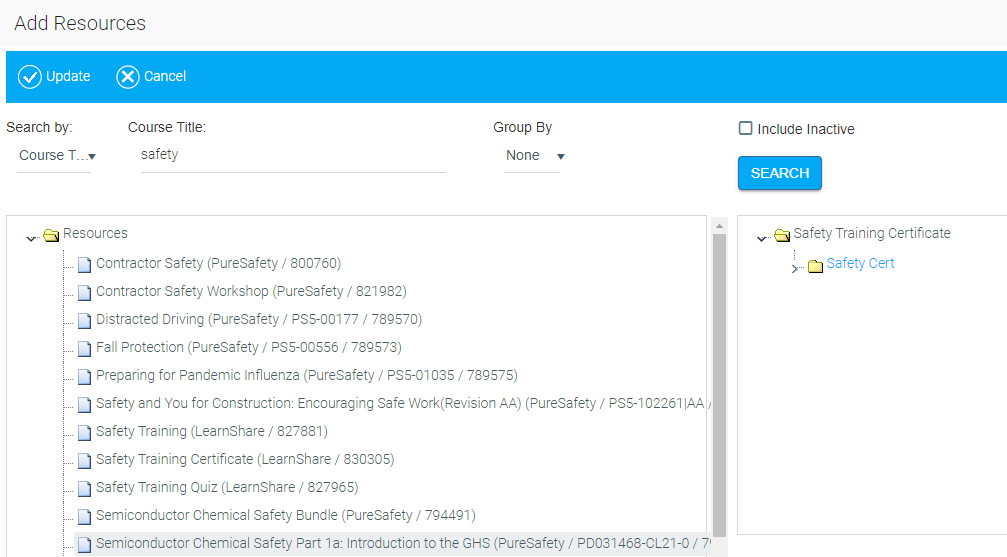
- The Add Resources window will appear. Enter the name of the first course in the Course Title field. Click Search.
- When you locate the item(s) that you would like to add to the certificate, drag the course from the left column and drop it into the certificate folder on the right. Repeat this process until all courses have been added to the certificate.
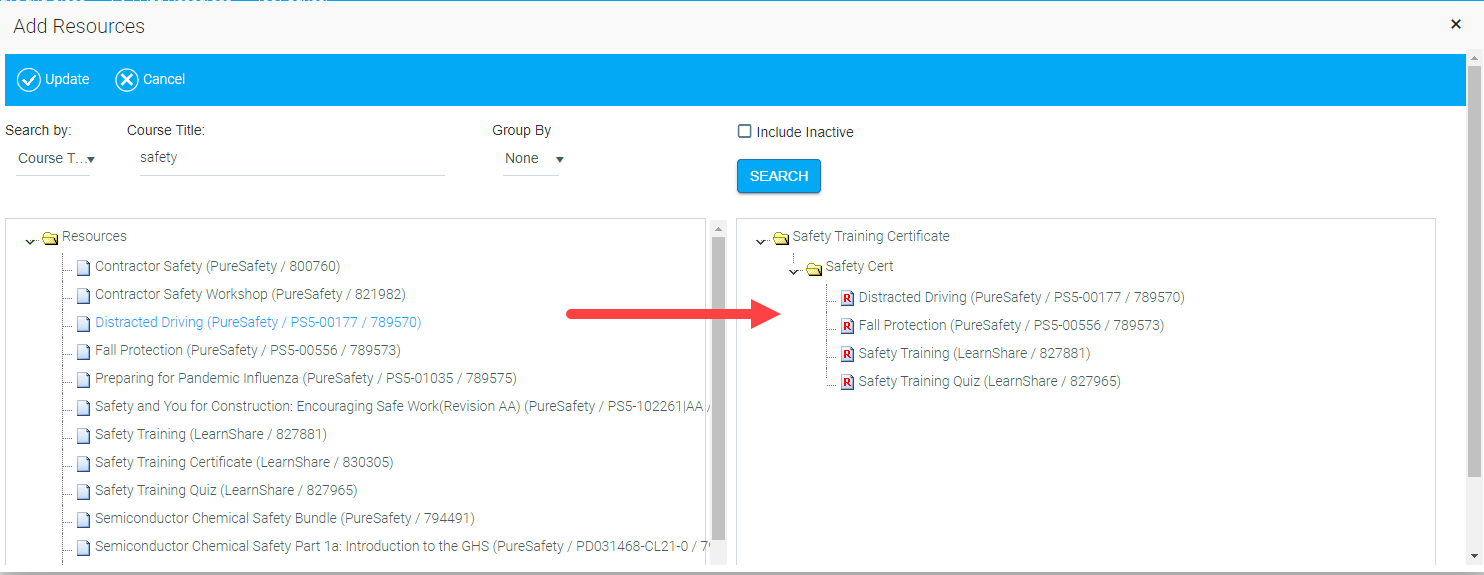
- Optional: If you would like users to complete the courses in a specific order, drag and drop the courses in the certificate folder into the correct order of completion.
- Click Update.
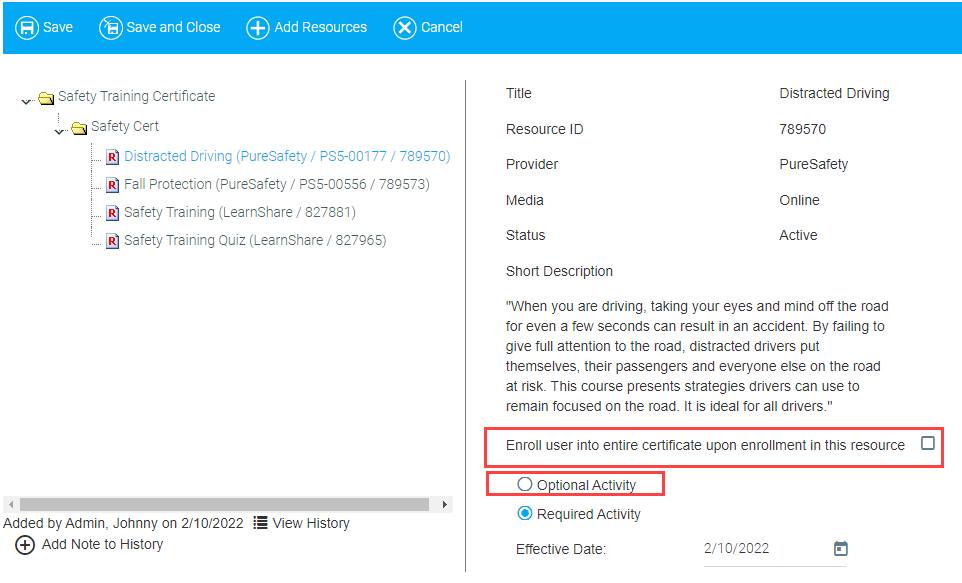
- For Optional Courses Only: Select the course from the certificate's list of courses.
a. Check the Enroll user into entire certificate upon enrollment in this resource box if users who take the course should be required to complete the certificate as well.
b. Click the radio button beside Optional Activity if users are not required to complete this particular course in order to earn completion credit for the certificate.
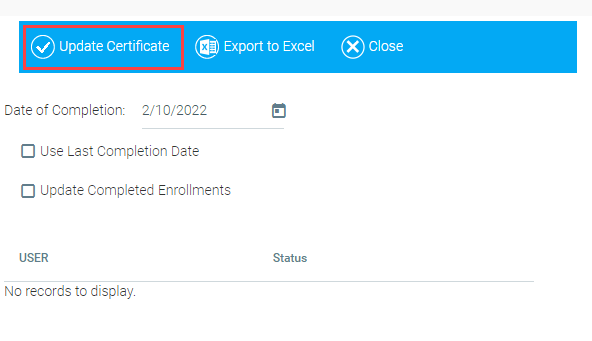
- Click Save and Close. A pop-out box may appear prompting you to refresh the certificate. Click OK. Then, click Update Certificate.
- Confirm that your certificate is Active. Then, Save and Close the certificate.
- Once your certificate is active, remember to add it to the Course Catalog. See Adding a Course to the Course Catalog for instructions.
For a brief video on this topic, please see Adding Courses to a Certificate.